Installation & Sizing Guide
Measure first, choose the right product, and make sure each chair-leg protector is fully installed before regular classroom use.
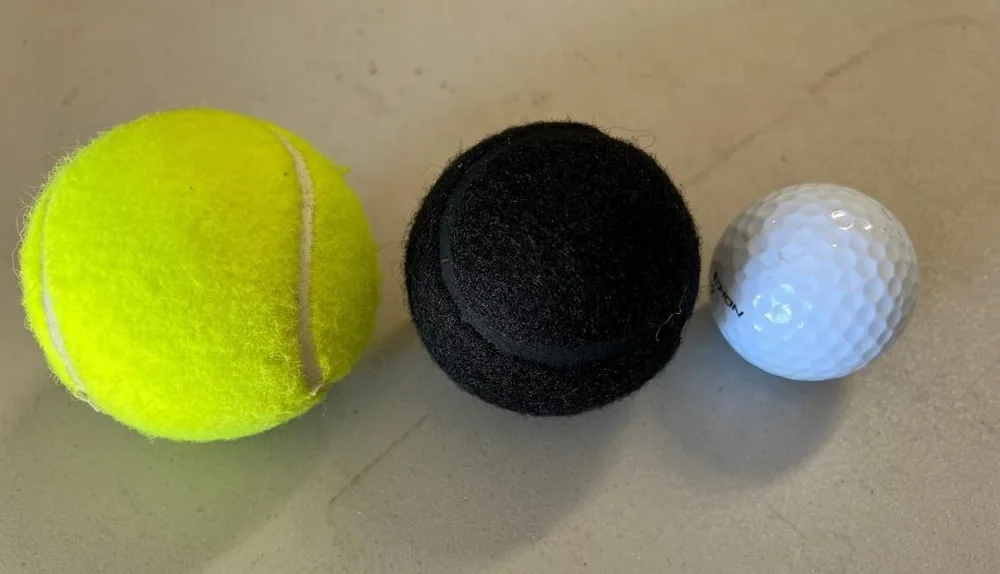
Measure the outside diameter of the chair foot or base
Use a ruler or caliper across the widest part of the chair foot that the ball or glide must pass over.
Install recycled or new precut tennis balls by hand
Locate the cut
Squeeze the ball slightly so the opening is visible. Recycled balls use a Y-shaped cut; new balls use a straight cut.
Center the chair foot
Place the opening directly against the bottom of the chair or desk leg.
Push firmly
Press the ball over the chair foot until it is seated as far as practical and the material closes around the leg.
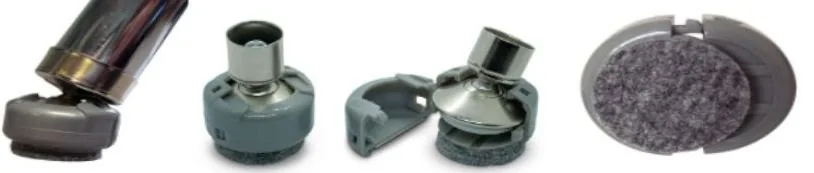
Snap the glide around the chair base
DuraGlides use two matching halves. Position them around a compatible chair base swivel and press the halves together until they are securely snapped in place.
- No adhesive and no cutting
- No tools required for normal installation
- Molded felt surface faces the floor
- Check that both halves are fully engaged before returning the chair to service
Count chair legs, not chairs
A standard four-legged classroom chair uses four balls or glides. For example, 25 four-legged chairs require 100 protectors. Desks, tables, and spare replacements should be counted separately.
For a large school-wide installation, count by room and keep a small replacement supply so maintenance staff can replace worn or missing pieces without waiting for a new shipment.